Printable free wood carving patterns in PDF format offer beginners instant access to ready‑made templates․ Download, print, and trace images—simple or complex to create relief or V‑carving projects․ Many sites provide over 50 free designs, from dragons to spoons, all ready for tracing․ Perfect for hobbyists․!!
Popular Sources of Free PDF Patterns
Print‑ready PDF templates are hosted on community sites like Instructables, Woodcarving․org, and freepattern․com․ Users can download thousands of designs ranging from simple spoons to elaborate dragons․ Many repositories offer step‑by‑step guides, making them ideal for novices and seasoned carvers alike․ Enjoy! 🙂
Online Libraries and Communities
Numerous online libraries and carving communities host printable PDF patterns that cater to all skill levels․ The most popular repositories include the Woodcarving․org forum, where members share over 50 free templates ranging from whimsical spoons to intricate dragons․ Instructables hosts a dedicated section for wood carving, offering step‑by‑step tutorials and downloadable PDFs that can be printed and traced directly onto your workpiece․
The freepattern․com site aggregates thousands of designs, allowing users to filter by difficulty, style, or material․ Many of these sites also provide community forums where hobbyists can exchange tips, discuss tool setups, and showcase finished projects, creating a collaborative learning environment․
These libraries not only provide ready‑made designs but also foster a sense of community․ Members often upload custom patterns, share modifications, and collaborate on multi‑image projects—such as combining separate skull and horn images into a single carving․ The ability to download, print, and trace these PDFs makes the creative process accessible, encouraging beginners to experiment with relief and V‑carving techniques while learning from seasoned artisans․
Users can also remix patterns by layering multiple images, creating depth that mimics hand‑carved relief․ This technique is especially popular for portrait carvings, where shading can be achieved by combining a face outline with a background texture․ The community often shares step‑by‑step guides on how to adjust line weight and contrast to ensure the final print translates well to wood․
Users can remix patternsby layering images, creatingdeep depthdeep that mimics ha‑carved relief․
This technique is popular for portrait carvings, where shading can be achieved by combining a face outline with a background texture․
The community often shares guides on how to adjust line weight and contrast to ensure the final print translates well to wood․
Types of Wood Carving Patterns
Printable free wood carving patterns PDF provide two primary styles: relief carving, where the design is raised, and V‑carving, where wood is cut to create negative space․ Relief is beginner‑friendly, while V‑carving offers deeper detail and texture․ Both can be traced from PDFs for quick, now consistent results․

Relief Carving vs․ V-Carving
Relief carving and V‑carving are the two most common approaches when using printable free wood carving patterns in PDF format․ Relief carving keeps the original wood surface intact, adding a raised design that can be seen from all angles․ The pattern is traced onto the board, and the wood is removed around the outline, leaving a silhouette that stands out․ V‑carving, on the other hand, cuts into the wood to create negative space․ The pattern is traced, and the wood is carved away in a V‑shaped profile, producing a recessed image that catches light differently․ Both techniques can be executed with but the choice of method affects the final appearance, depth, and the tools required․ Relief carving is often recommended for beginners because it requires only a basic set of gouges and a steady hand; the risk of cutting too deep is lower․ V‑carving demands more precision and a larger selection of chisels, but it offers richer shadows and a more dramatic three‑dimensional effect․ When selecting a PDF pattern, consider the complexity of the design and the level of detail you wish to achieve․ Simple silhouettes work well for relief, while intricate line work and fine shading are better suited to V‑carving․ Both styles can be combined by using a single PDF pattern and carving the outer shape in relief while carving internal details in V‑style, creating a hybrid piece that showcases the strengths of each technique․ In practice, many hobbyists start with relief patterns to build confidencethen transition to V‑carving once they master basic hand tool control․ Printable free wood carving patterns PDF provide a versatile starting point for both methods, allowing you to experiment, refine your technique, and produce professional‑looking results without the need for expensive custom templates․
Tools Needed for Printing and Tracing
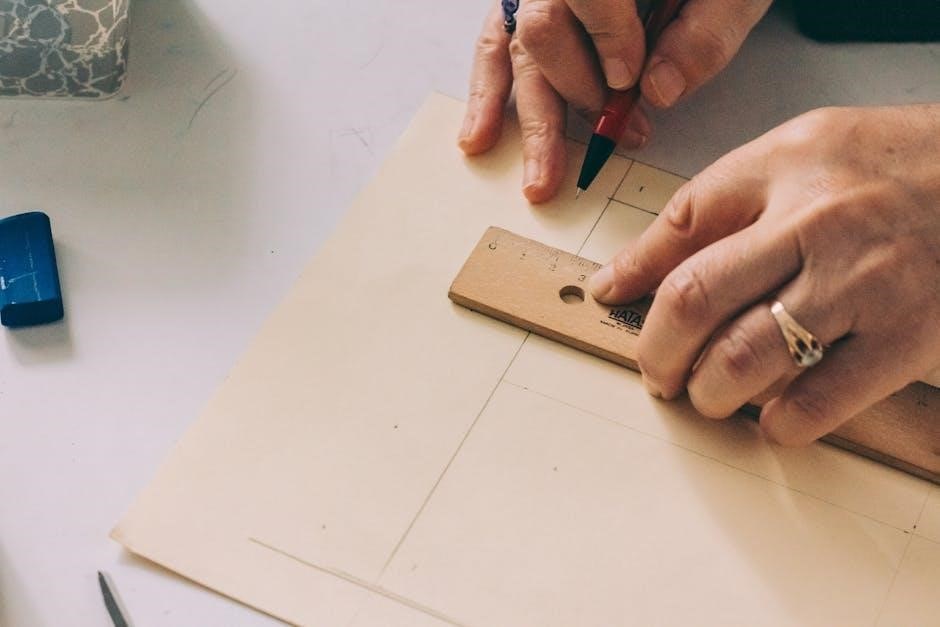
A high‑resolution printer, quality matte paper, a clear ruler, a fine‑point pen or mechanical pencil, and a lightbox or tracing paper are essential․ Ensure the printer is set to 300 dpi and use a PDF viewer that preserves scale for accurate tracing․ Print at 300 dpi, use matte finish, align PDF to paper size!!
Printer Calibration for Pattern Accuracy
To ensure printable free wood carving patterns PDF translate accurately onto paper, a meticulous printer calibration routine is essential․ Begin by printing a test sheet containing line widths from 0․1 mm to 2 mm․ Measure each line with a digital caliper and compare to the intended width․ Adjust the printer’s DPI until the printed lines match the target dimensions within ±0․02 mm․ Verify color fidelity by printing a grayscale gradient and checking for uniform tone distribution; any banding indicates ink mis‑feed or paper stretch․ Use a calibrated light source and a colorimeter to confirm grayscale values correspond to expected luminance levels․ After achieving dimensional and tonal accuracy, perform a repeatable test by printing a full pattern at the final DPI setting and overlaying it on tracing paper․ Align the overlay with a precision ruler; any misalignment beyond 0․1 mm suggests a mechanical shift in the print head or paper feed․ If misalignment persists, run a nozzle cleaning cycle and recalibrate the paper path․ Finally, document the calibration parameters, including DPI, paper type, ink density, and post‑processing adjustments, so future prints remain consistent․ By following this systematic approach, woodcarvers can rely on the printed patterns to match the digital design, ensuring traced outlines and depth cues are faithfully reproduced on the workpiece․ This precision eliminates wasted material and reduces time spent correcting scale errors during carving․!!All steps repeatable
Software Recommendations for Pattern Creation
For creating printable free wood carving patterns PDF, free tools like GIMP and Inkscape are ideal․ GIMP’s line‑drawing filter simplifies images, while Inkscape’s vector paths allow precise scaling․ Export to PDF for clean, printable templates․ They enable scaling, layering, and export, fast, speeding pattern creation․
Using GIMP for Outline Tracing
GIMP, a free open‑source editor, is ideal for converting photos or clip art into clean carving templates․ Start by opening the image, converting to grayscale, then apply “Filters → Edge‑Detect → Edge” to create a high‑contrast outline․ Adjust threshold and radius to match the carving depth you want․
After the edge map appears, duplicate the layer, then use “Threshold” to turn the outline into pure black and white․ Hide the original layer; only the crisp lines remain for printing․ This eliminates gray tones and ensures sharp output․ Confirm the outline’s fidelity before deleting the source layer․
For complex images, the “Paths” tool refines or merges disconnected segments into a single continuous path․ Export that path as SVG or PDF via “Export As․” GIMP’s PDF export keeps clean edges, ready for printing and tracing․
When exporting, choose “Export As” → PDF․ Set resolution to 300 dpi, uncheck “Save background” so the pattern stays transparent․ Scale the image in GIMP before exporting if a larger format is needed; scaling after printing can blur edges․
Enable grid guides (View → Show Grid) and snap the pattern to the grid․ This aligns the template with the wood surface and keeps spacing consistent․ Use the “Align” tool to center the pattern on the canvas for a balanced layout․
Print the PDF on a scrap piece of wood to test size․ Adjust print DPI if needed․ GIMP’s flexibility lets you tweak line weight, add shading, or combine images before finalizing the PDF, making it indispensable for hobbyists seeking high‑quality printable free wood carving patterns— and enjoy the process․ Enjoy!!

Step-by-Step Guide to Printing and Using Patterns
Open the PDF, set printer to high‑resolution, print on a thin board․ Trace the outline with a fine marker, then transfer to wood using carbon paper or a lightbox․ Mark cutting lines, check depth, and start carving with appropriate gouges․ Finish with sanding and finishing․ Keep your tools sharp work safely․!!!!
From PDF to Final Carving
Begin by opening the PDF on a computer with a reliable PDF viewer․ Adjust the page size to match your printer’s printable area, ensuring the pattern fits without cropping․ Set the printer to the highest DPI setting, typically 600 dpi or more, to preserve fine line detail․ Choose a paper type that mimics the thickness of the wood you’ll carve, such as a 0․5 mm cardstock or a thin tracing paper․ After printing, lay the sheet over a clean, flat piece of the chosen wood․ Use a fine‑tip marker or a light‑box to trace the pattern onto the wood surface․ For added accuracy, place a sheet of carbon paper between the printout and wood, then trace again to transfer the lines․ Once the outline is marked, double‑check the dimensions against the original PDF to confirm scale․ Mark depth lines with a pencil or a light engraving tool to indicate where to carve deeper․ Begin carving with a sharp gouge, following the traced lines carefully․ Keep the tool perpendicular to the wood surface to maintain consistent depth․ Work slowly, removing small amounts of wood at a time, and frequently check your progress against the pattern․ When the main contours are complete, refine edges with a smaller gouge or a V‑tool to add detail․ After carving, sand the piece with progressively finer grits, starting at 120 and moving to 400, to smooth the surface․ Finish with a natural oil or wax to protect the wood and enhance grain visibility․ Throughout the process, keep the workspace well lit and use a stable workbench to ensure precision and safety․ This workflow transforms a simple PDF into a polished, hand‑carved artwork․
Before starting, verify that your carving tools are sharp and clean; dull tools produce uneven cuts․ Keep a small mirror or a camera on a tripod to monitor depth from different angles․ If the pattern contains intricate curves, consider carving in sections, marking each segment with a different color marker to avoid confusion․ After sanding, apply a thin coat of mineral oil, let it soak for 10 minutes, then wipe off excess․ This not only protects the wood but also brings out subtle tonal variations in the carved design․ Finally, display your finished piece on a wooden plank or a simple frame to showcase the craftsmanship and the journey from digital PDF to tangible art․
Remember to document each step with photos; this helps refine techniques for future projects and allows sharing progress with online carving communities․ Consistent practice builds muscle memory, enabling smoother transitions between pattern stages and more confident handling of the carving knife

Advanced Tips for Customization
Blend multiple PDFs by overlaying layers in GIMP, adjusting opacity to align motifs․ Use the line‑drawing filter for clean edges, then merge․ Scale with the transform tool, ensuring proportions match the wood size․ Export as high‑res PDF for accurate tracing․ Use layers․ Tip:
Combining Multiple Images for Complex Patterns
When you want to create a carving that features several distinct elements—such as a skull with horns, a tree with animals, or a scene with multiple figures—you can merge separate PDF patterns into a single template․ First, open each PDF in a vector editor or a raster program like GIMP․ Import each file as a layer, keeping the original resolution high (300 dpi or more) to preserve detail․ Use the “Scale Tool” to adjust each layer’s size so that the proportions match the final wood block․ Align the layers with the “Move Tool” and the grid guides; you can lock layers to prevent accidental shifts․
Next, create a new layer that will serve as the composite outline․ Use the “Path Tool” or “Foreground Select” to trace the outer edge of the combined design․ If you prefer a cleaner look, apply the “Edge‑Detect” filter to each layer before merging, then delete the original layers․ Once the outline is finalized, hide the background layers and export the composite as a high‑resolution PDF․ This PDF can be printed on a laser printer, ensuring that the lines are crisp enough for tracing onto wood․
For advanced customization add a “mask” layer to reveal parts of the composite․ This is useful when carving a background that changes depth or texture․ Remember to keep the original PDF files in a separate folder so you can revisit or modify individual elements later․ Finally, enjoy the finished piece as a testament to your skill․ and cherish it․!!!!! and refine․!!! Each carving step reveals a new layer of your creative spirit․!!